Unplug the console before doing anything! It’s always a good idea to take pictures as you go along so that you have them as reference when you want to put things back together.
1. Remove the back from the console. This can usually be done using a 1/4″ nut driver or a screwdriver.
2. Find the turntable from the back. There are typically two sets of cables coming up and connecting to the underside of the turntable – one is for power and one for audio. Locate them and take a picture for reinstallation.
3. Power plugs are typically white Molex plastic. Be very gentle when removing them! Many of the power sockets on turntables are brittle plastic and can break easily. Often the power switch is part of the same assembly so if the socket cracks the switch is a goner. Pull and wiggle gently on the plug (not the wire) to get it disconnected.
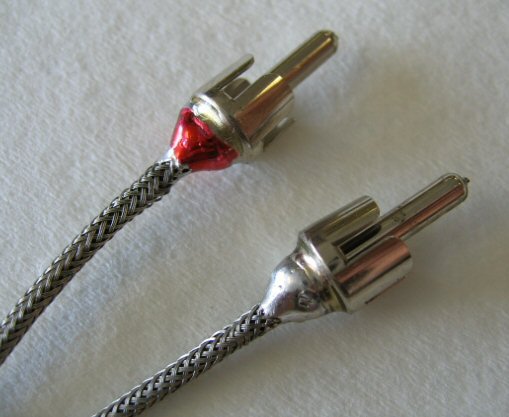
4. Audio plugs are typically a pair (if stereo, only one if mono) of RCA type plugs that insert into jacks on the bottom if the turntable. Often these won’t have plastic sleeves; they’ll be bare metal plugs. Alternately, instead of plugs there will be wire clip connectors that connect to three metal tabs. Another alternative is a cable coming from the turntable that ends in a plug/socket connection on the amplifier/receiver part of the console. Again, it’s always a good idea to take pictures BEFORE unplugging anything.
5. With the cables unplugged, find the bolts (usually two, sometime three or four) coming down from the top of the turntable through the top of the console cabinet. There are variations and you have to figure out which your turntable has in order to remove the turntable. Take pictures!
• Type 1 — (most consoles): On the bottom of the shafts are retainer clips , mostly rectangular with one rounded end.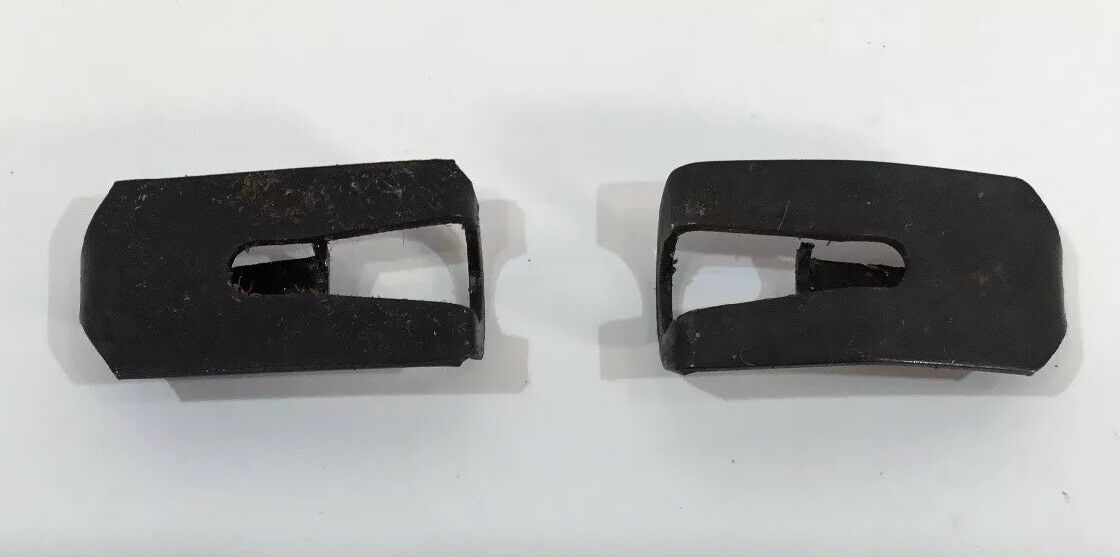 These retainers can be flipped from horizontal to vertical (the wide end of the opening goes up) so they are parallel to the bolts. This allows you to lift the turntable up and out.
• Type 2 — (typically older units, RCAs and some others): On the bottom of the threaded shafts are round retainer clips with a rubber washer (and sometimes another metal washer) and pinch tabs. Pinching the tabs together allows you to slide the clip down and off the bolt (save all the pieces in a bag if you do this). When the clips are off, you can lift the turntable up and off.
• Type 3 – (typically Magnavox): On the top of the deck are plastic slider clips. On these, you turn the sliders 90 degrees and this allows the turntable to lift up and out.
• Type 4 – (some older RCAs, some GE): Bolts from the top of the deck are simply unscrewed to release the turntable. Note that sometimes these bolt heads are under the platter. This means you need to remove the c-clip that holds the platter in place to get to the bolts. If you do this, don’t lose the large flat washer under the platter! (Typically, the surface tension of the grease will hold these to the bottom of the platter shaft, just be sure it doesn’t come off and get lost).
6. Once you’ve figured out how to remove the turntable, make an appointment to bring it to me for repairs. Best to put it in a box to prevent grease from the changer getting all over anything you set it on.
